Houdini has now become one of the most loved 3d software by 3d artists who work on procedural scenes, and for those who work on advanced particle scenes both in the field of VFX and in complex Motion Graphic animations, Houdini has become one of the software to add to your tool kit.
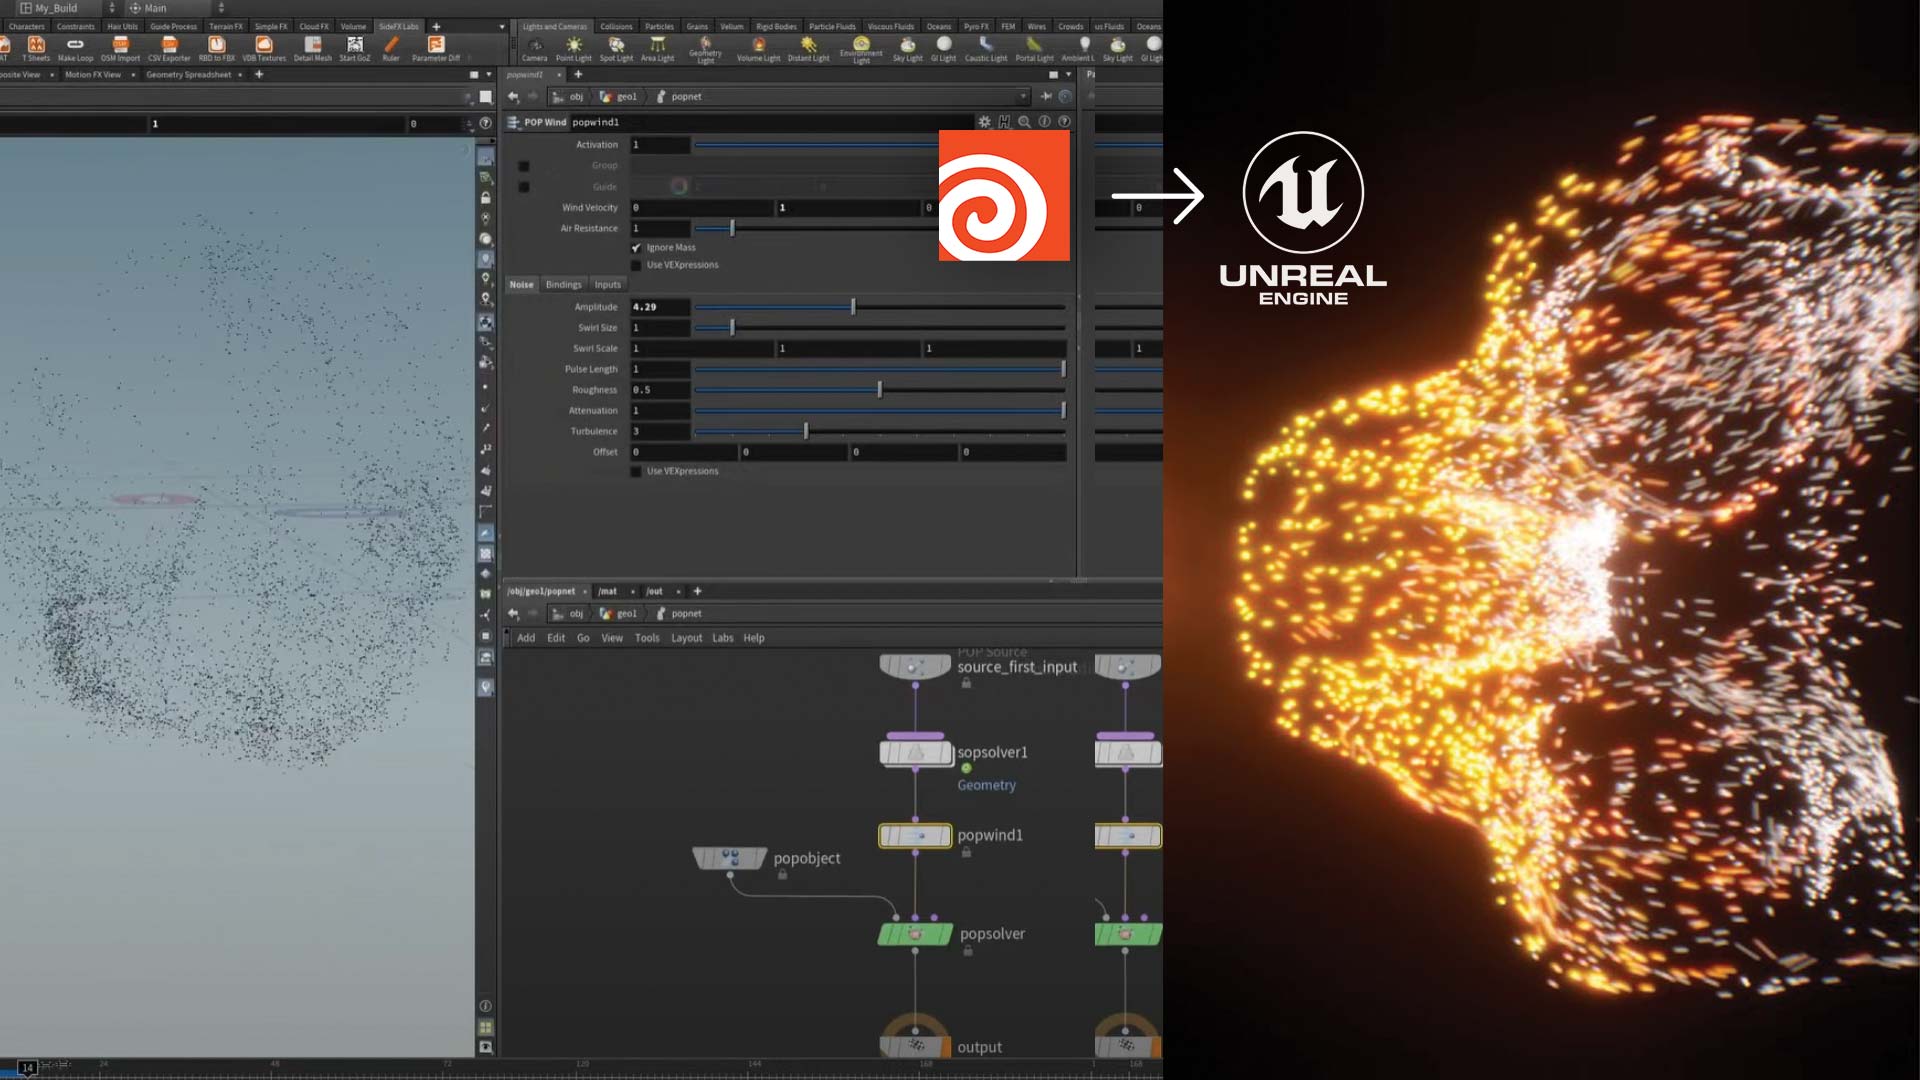
Another software that has taken a large slice of the market, and is increasingly used by small and large studios is certainly Unreal Engine, specialized in the real-time rendering of environment and non-environment scenes for video games and virtual production, in this tutorial we will see how to combine the scenes of this two fantastic software, going to understand how to combine an ideal workflow for particles simulation from Houdini to UE5.
How to export Houdini to Unreal?
In the tutorial, we will see how to create a loop particle scene in Houdini and then export the scene for Unreal Engine using the Niagara particles system plugin in UE5.
Small Robot Studio in the tutorial shows us all the steps, how to create a looped particle scene using the emitters in Houdini, and how to export the simulation results directly to Unreal Engine 5 to then use them with the Niagara particles system engine in UE5.
Houdini Export Looping Particles to Unreal 5 Tutorial
Download Houdini Niagara Plugin for UE5:
In the tutorial, we’ll see how to import the Houdini particle Niagara VFX System in Unreal Engine using the plugin Houdini Niagara Plugin v2.2.0 – UE5.00_EA, you can download it here at this link: https://github.com/sideeffects/HoudiniNiagara/releases
What is Niagara VFX System?
The Niagara VFX System is one of the two tools you can use to create VFX effects, within Unreal Engine 5. Prior to the Niagara tool, the primary way to create and edit visual effects in UE4 was to use Cascade. While Niagara has many of the same particle manipulation methods that Cascade offers, the way you interact and build visuals with Niagara is very different and more performant.