Finally, a good shockwave tutorial in Blender, check this amazing tutorial, using some tricks, how to make a realistic 3d particle explosion and shock wave simulation in Blender made by Bad Normals.
How to make a particle simulation of an explosion and shock wave in Blender?

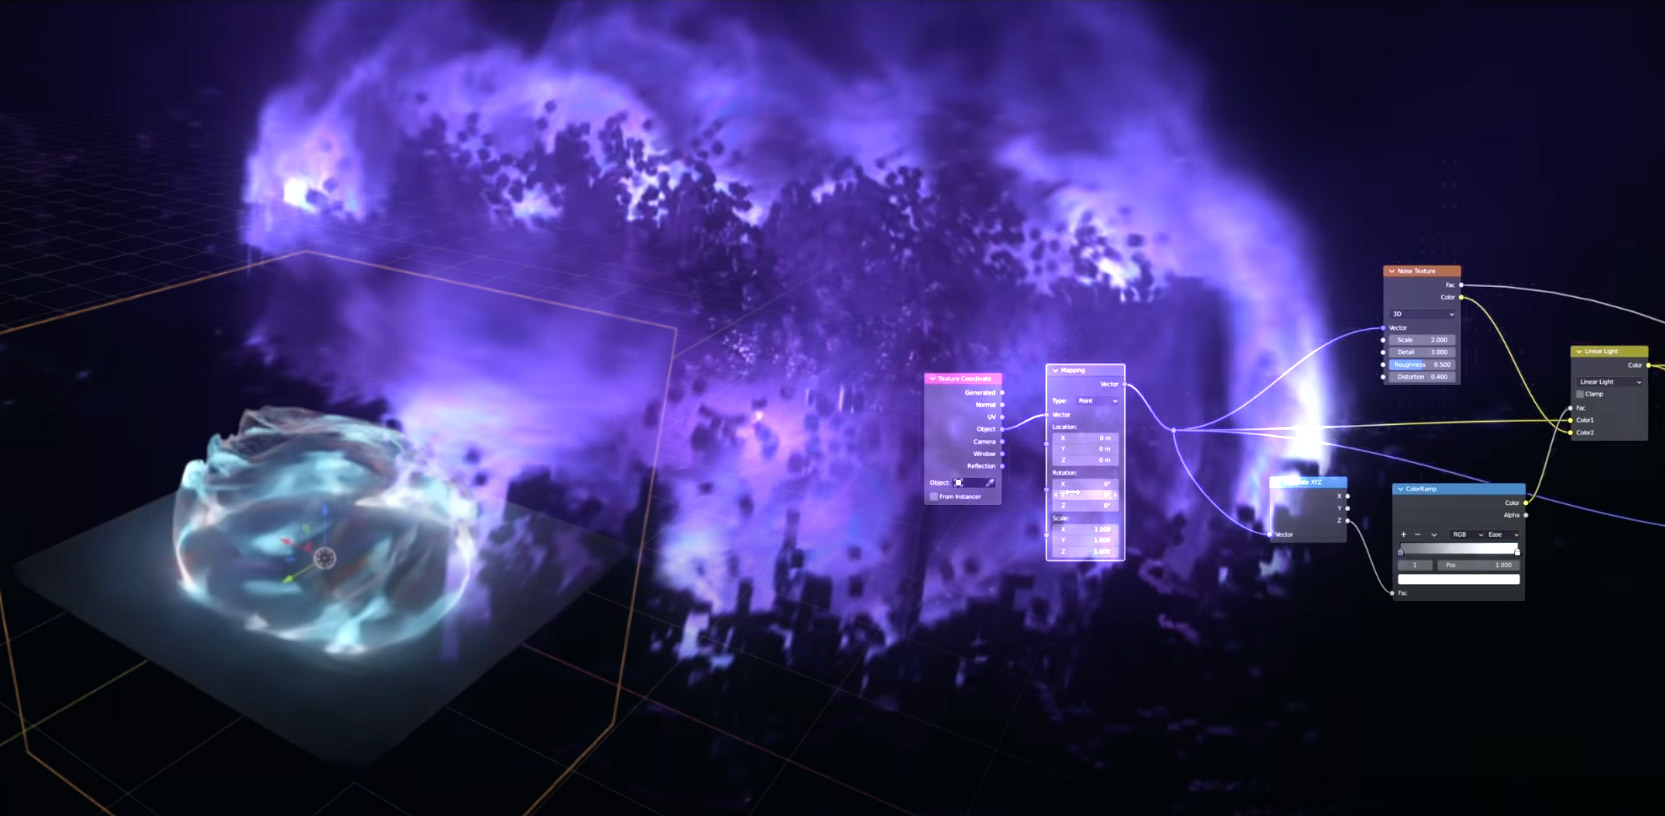
In this new Bad Normals tutorial, let’s see how to create a shockwave effect in Blender using its nodal system, creating the whole effect using some shader tricks to make a particle simulation of a shockwave look realistic.
How to use Geo Nodes in Blender?

We will start the tutorial from a predefined cube in Blender by going to create a shockwave effect using Geo Nodes, without going to create complex simulations or using volumetric rendering.
Shockwave FX in Blender
The two different shockwaves in the intro are actually the same shaders, only the first one that looks like a disk is a slice of the sphere that was created in the tutorial.
Since Blender does not support motion blur with shaders, it was added in Davinci Resolve under the Fusion tab, using the motion blur node. This is available in the studio version. The glow node was used and this is also available in the free version.
In the video tutorial:
00:00 Intro
00:50 Creating the Sphere
03:50 Adding the Noise in Blender
04:50 Removing the Bottom
05:50 Bottom Glow
08:45 Mimicking Fire
11:39 Colors
12:30 Tuning Brightness
14:14 The Rotation
Credits:
FX: Bad Normals and Egert Kanep
Camera: Hans-Kristjan Reimann

